Trust Center
The Trust Center is a public-facing document sharing portal that allows organizations to securely share compliance, security, and certification documents with external stakeholders. It provides controlled access with approval workflows, document classification, and expiration management.
Overview
The Trust Center enables third parties (customers, auditors, partners) to access sensitive security and compliance documents through a request-approval workflow while maintaining full control and audit trails.

Key Capabilities:
- Public and protected document hosting
- Access request approval workflow
- NDA agreement enforcement
- Magic link access with expiration
- Customizable branding and content
- Email notifications for requests and approvals
- Document organization by certification
Public Trust Center
Your public Trust Center is accessible at:
https://your-domain.com/trust/
Share this URL with customers, auditors, and partners who need access to your security documentation.
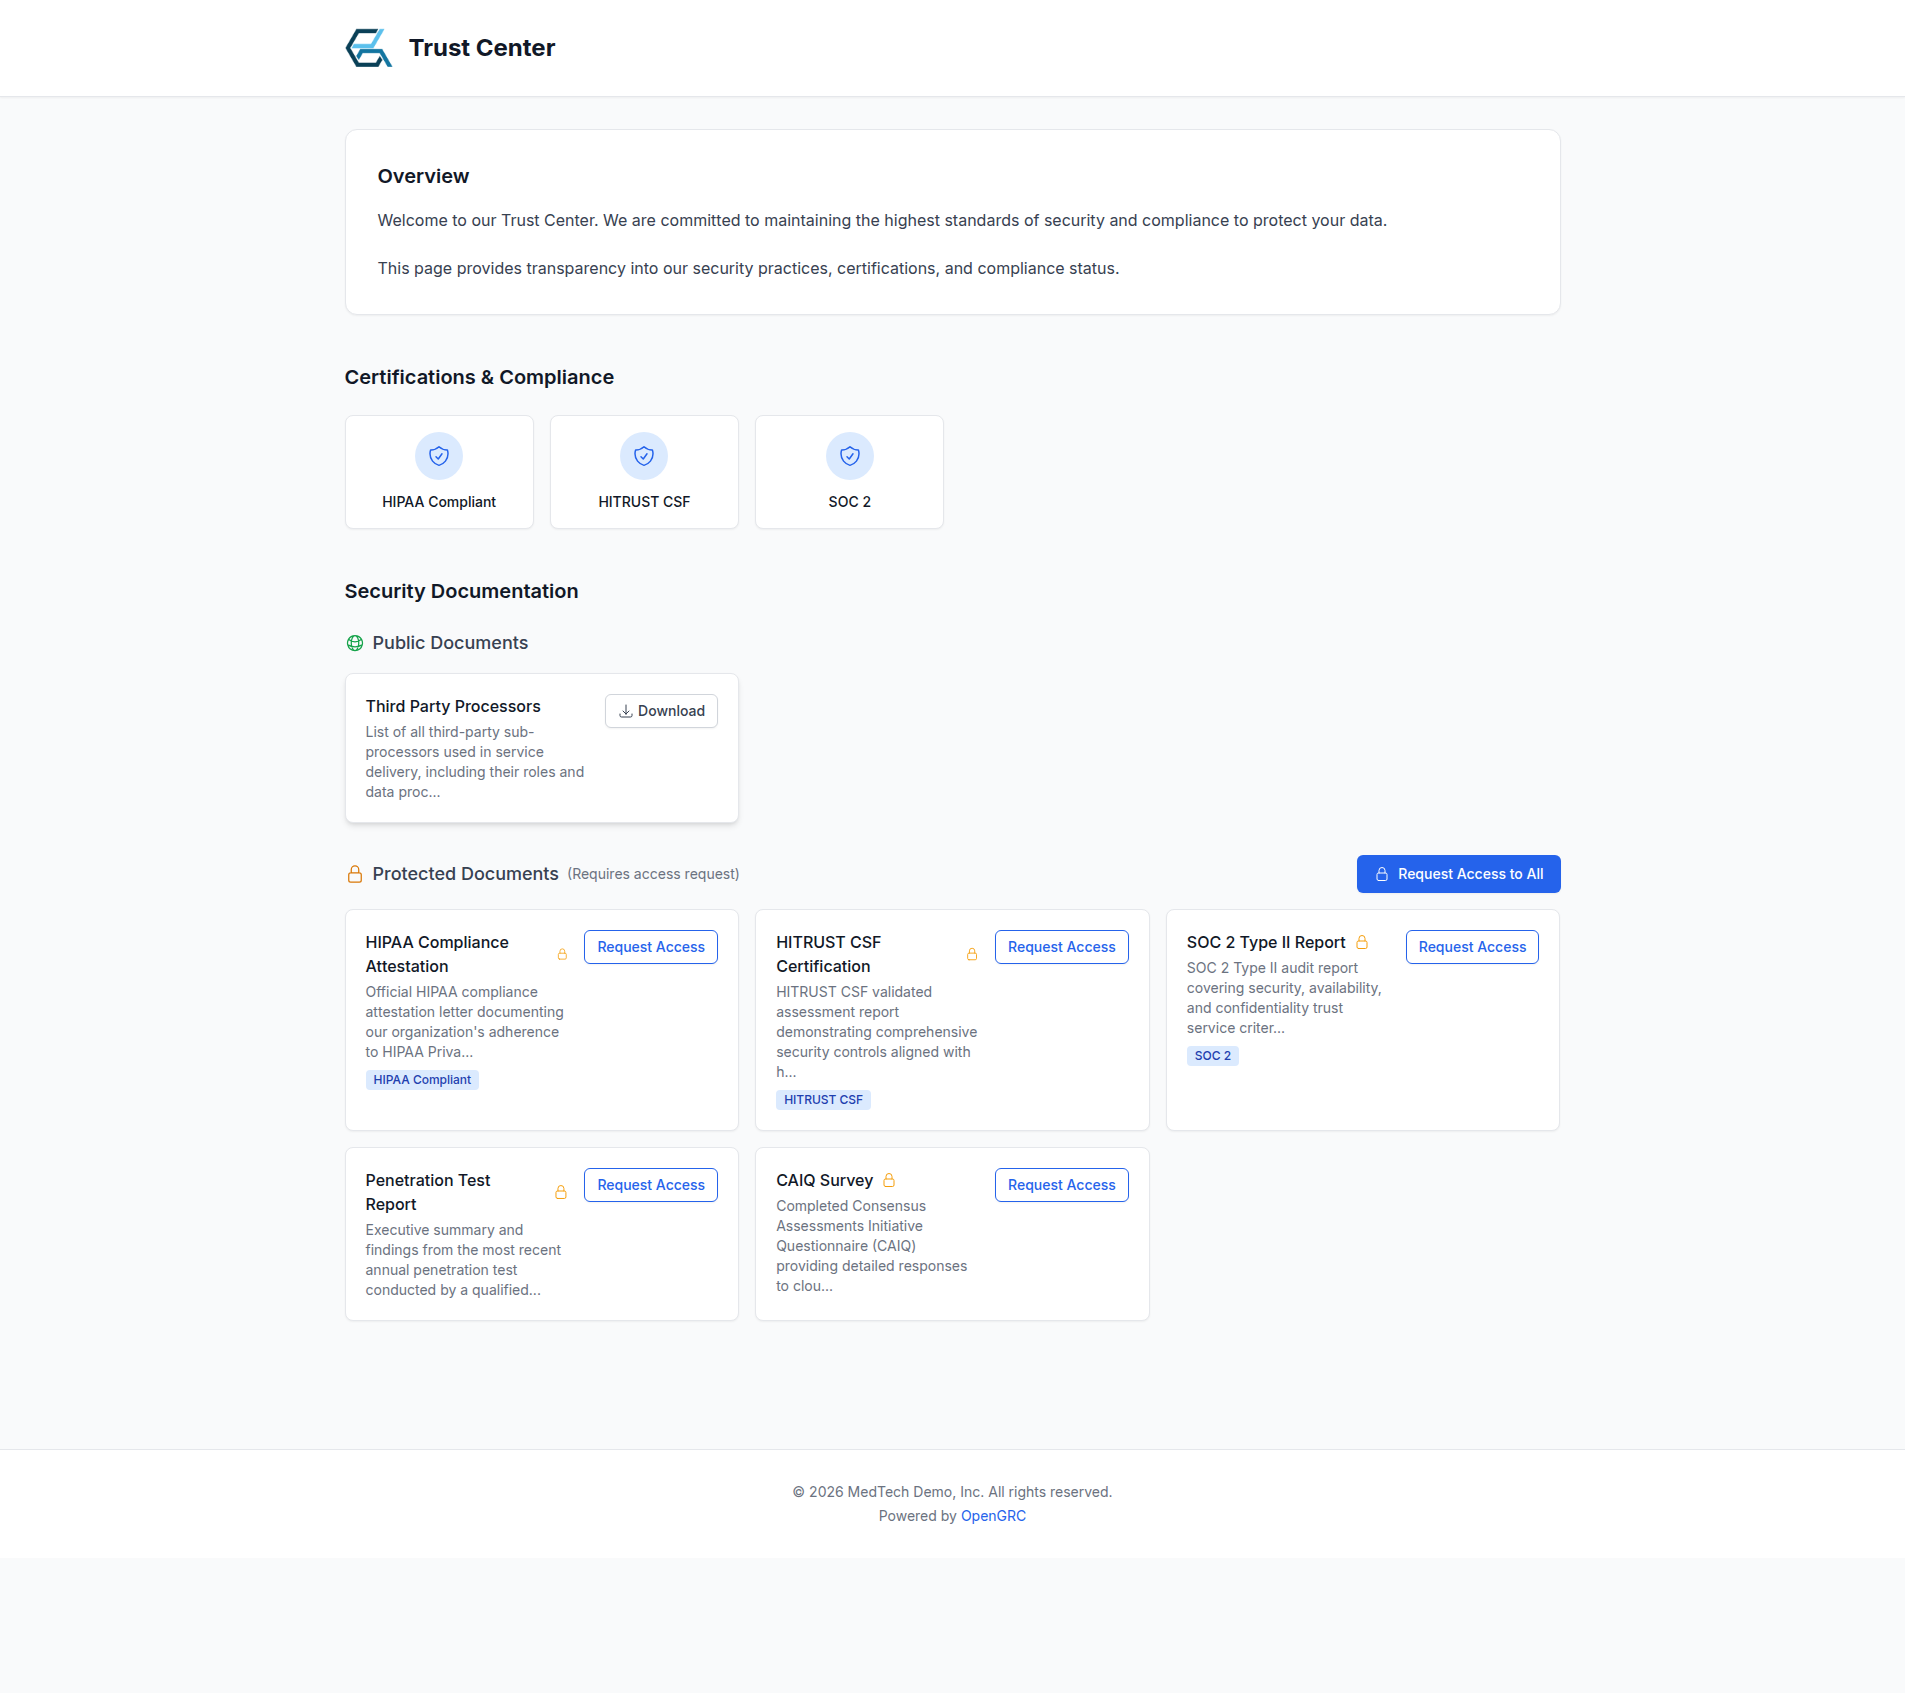
The public page displays:
- Content blocks -- Custom sections like overview, FAQ, and security practices
- Certifications -- Badges for your compliance frameworks (SOC 2, ISO 27001, HIPAA, etc.)
- Public documents -- Downloadable without authentication
- Protected documents -- Require an access request and approval
Document Types
Public Documents
Documents marked as Public are available to anyone who visits your Trust Center without authentication or approval. Use this for documents you want broadly accessible.
Protected Documents
Documents marked as Protected require an access request and approval before viewing. When a visitor requests access:
- They provide their name, email, company, and reason for access
- They agree to your NDA (if enabled)
- An administrator reviews and approves or rejects the request
- Approved requests receive a magic link via email
Setting Up Your Trust Center
Step 1: Configure Basic Settings
- Navigate to Trust Center in the main navigation
- Click Settings in the header
- Configure your company name and branding
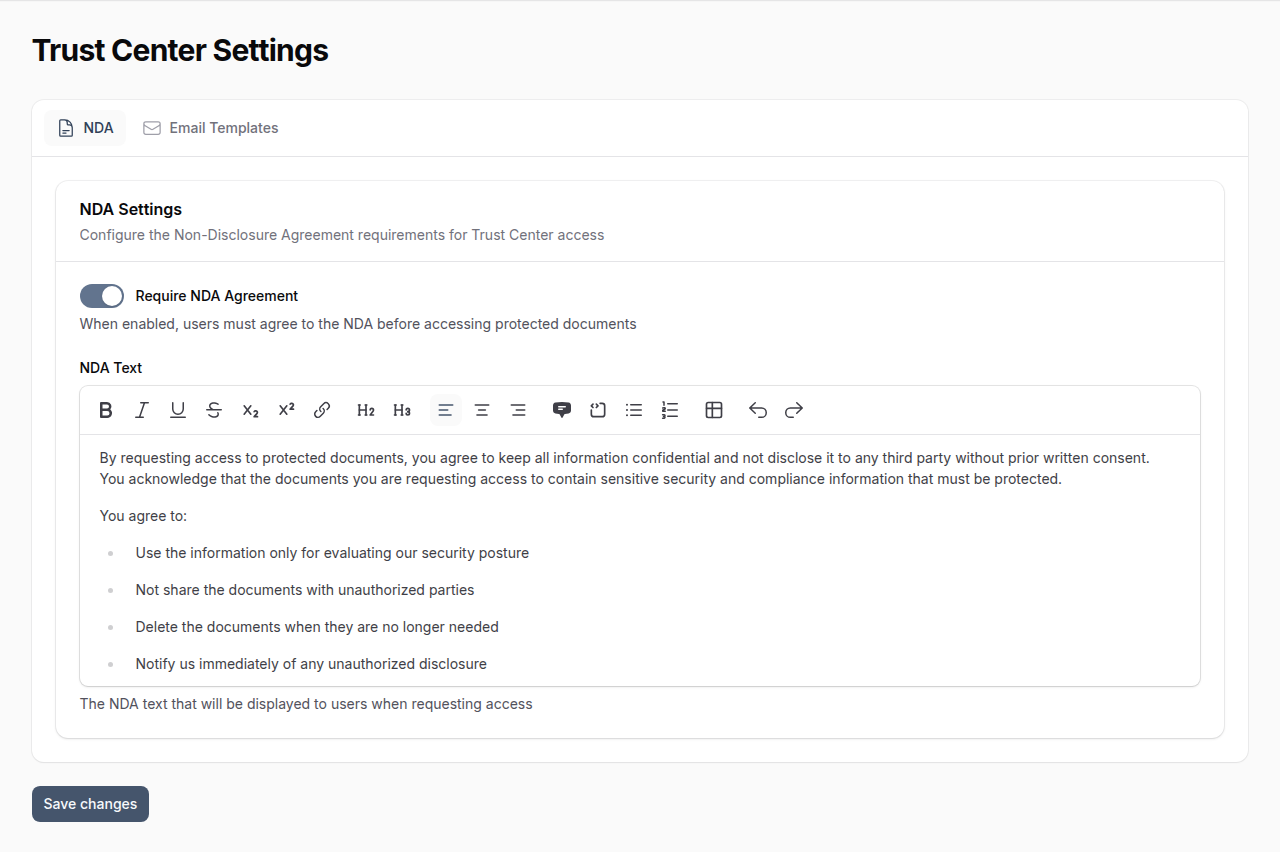
Step 2: Configure NDA Settings
- In Trust Center Settings, go to the NDA tab
- Toggle NDA requirement on or off
- Customize the NDA text using the rich text editor
- Save your changes
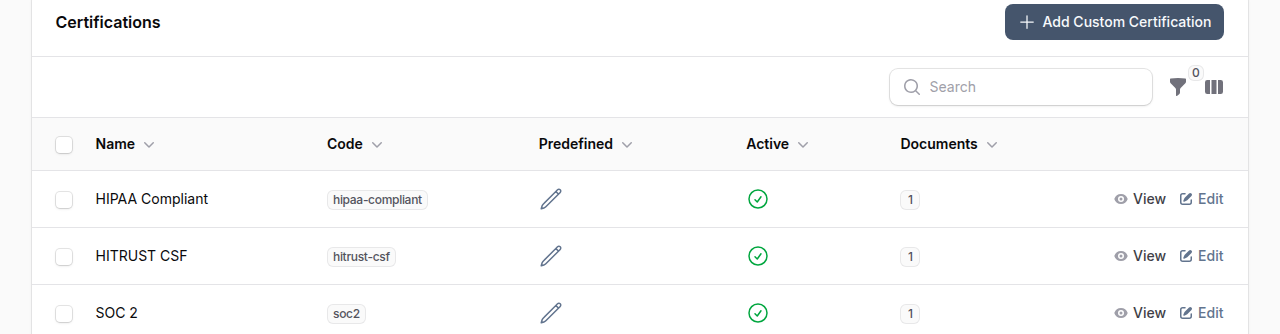
Step 3: Add Certifications
Certifications help organize your documents by compliance framework or standard.
- From Trust Center Manager, go to the Certifications tab
- Click Add Custom Certification
- Add certifications like SOC 2, ISO 27001, HIPAA, etc.
- Each certification can have multiple documents associated with it
Step 4: Upload Documents
- From Trust Center Manager, go to the Documents tab
- Click Add Document to add a new document
- Fill in the document details
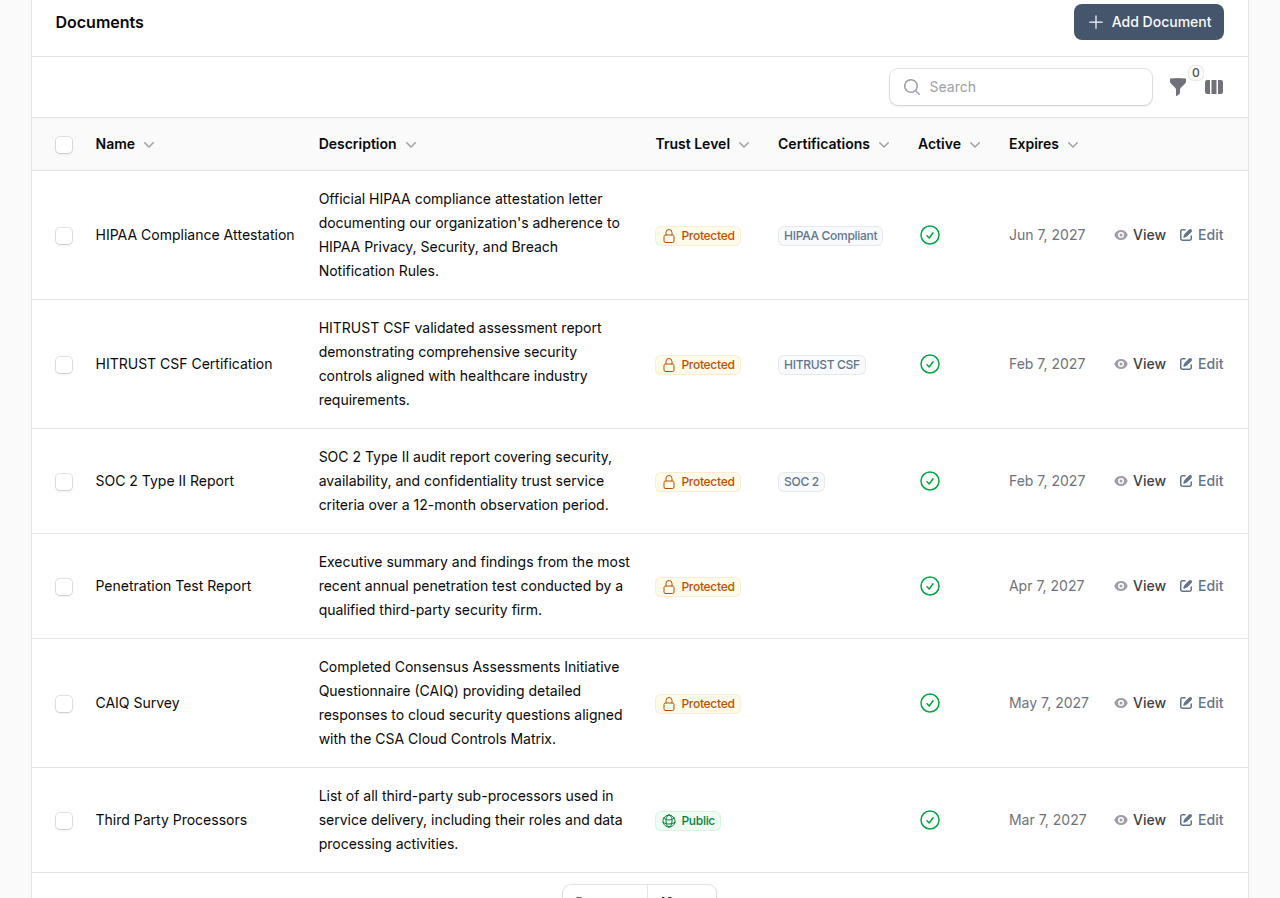
Document Fields
| Field | Description |
|---|---|
| Name | Document title |
| Description | Brief description of what the document contains |
| Trust Level | PUBLIC or PROTECTED |
| Requires NDA | Whether requesters must agree to NDA |
| Certifications | Which certifications this document relates to |
| File | Upload the document (PDF, Word, Excel, or images, max 20MB) |
| Valid From/Until | Optional validity period |
| Active | Toggle to show/hide without deleting |
| Sort Order | Control display ordering |
Step 5: Customize Content Blocks
Add custom content sections to your public Trust Center page:
- Go to the Content Blocks tab
- Click Create Content Block
- Add a title, content, and optional icon
- Enable/disable and reorder as needed

Managing Access Requests
Reviewing Requests
When someone requests access to protected documents:
- You receive an email notification and in-app notification
- Navigate to Trust Center > Access Requests tab
- Review the request details
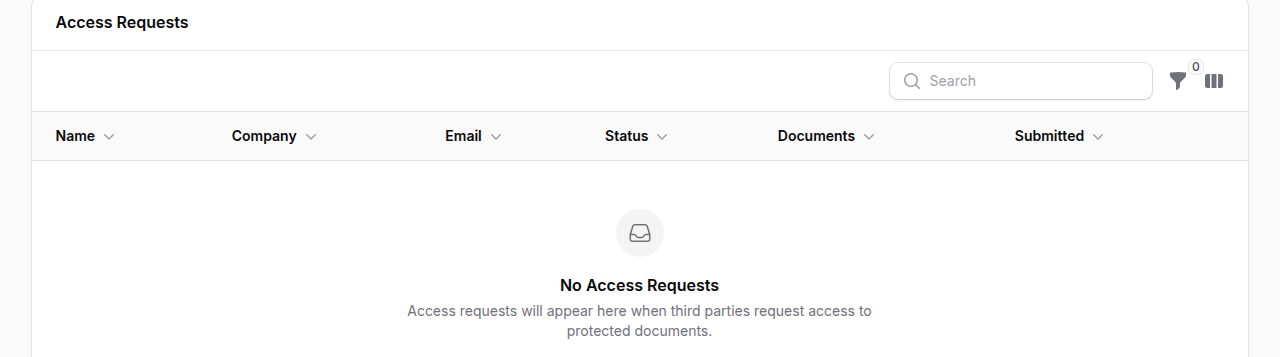
Request details include:
| Field | Description |
|---|---|
| Name | Requester's full name |
| Company | Requester's organization |
| Requester's email address | |
| Status | Pending, Approved, or Rejected |
| Documents | Number of documents requested |
| Submitted | When the request was made |
Approving Requests
- Click the Approve action on a pending request
- Optionally add notes for internal reference
- The system generates a magic link and sends an approval email
- The requester can access documents for the configured duration (default: 24 hours)
Rejecting Requests
- Click the Reject action on a pending request
- Provide a reason (sent to the requester via email)
- The requester receives a rejection notification
Email Templates
Customize all Trust Center emails in Settings > Trust Center Settings > Email Templates tab.
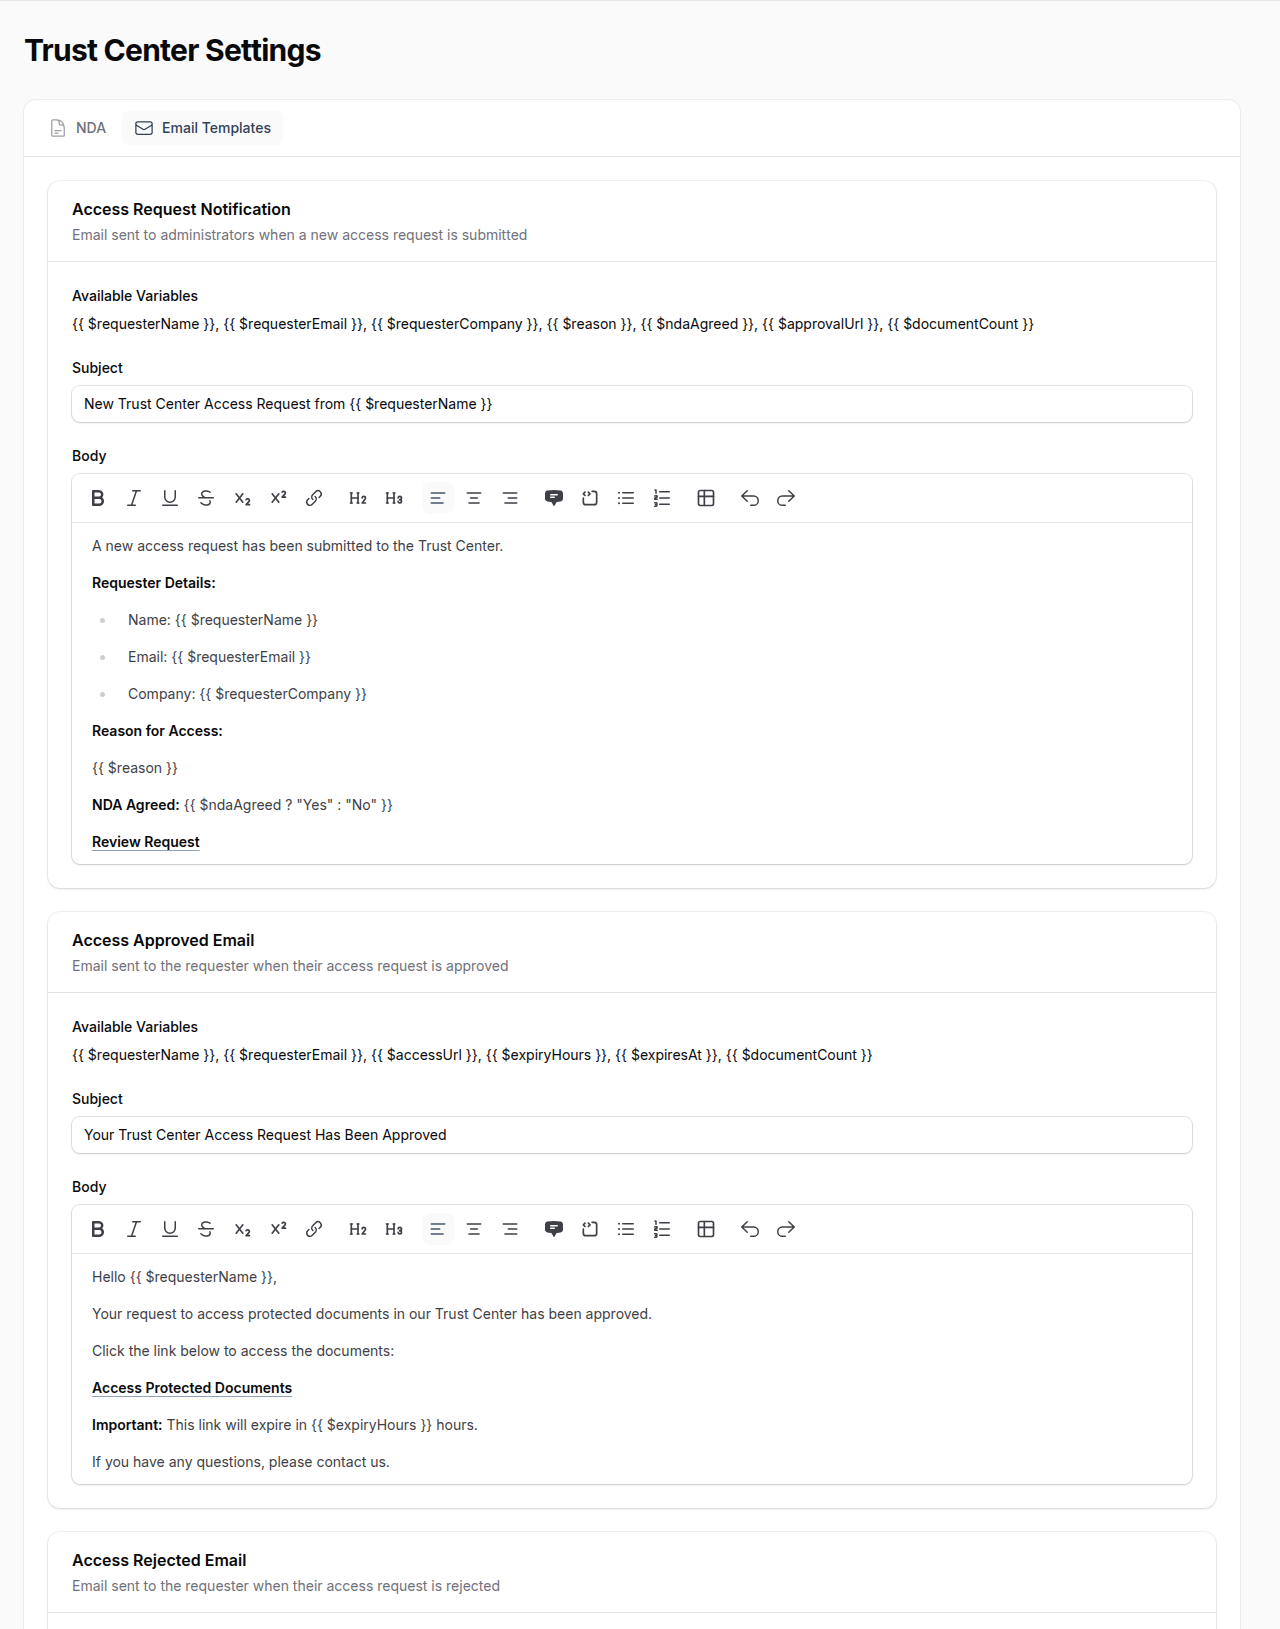
Access Request Notification
Sent to administrators when a new request is received.
- Available variables:
{{ $requesterName }},{{ $requesterEmail }},{{ $requesterCompany }},{{ $reason }},{{ $ndaAgreed }},{{ $approvalUrl }},{{ $documentCount }}
Access Approved Email
Sent to requesters when their access is approved.
- Available variables:
{{ $requesterName }},{{ $requesterEmail }},{{ $accessUrl }},{{ $expiryHours }},{{ $expiresAt }},{{ $documentCount }}
Access Rejected Email
Sent to requesters when their access is rejected.
- Available variables:
{{ $requesterName }},{{ $requesterEmail }},{{ $reviewNotes }}
Magic Link Access
Approved requesters receive a secure magic link that:
- Is cryptographically signed to prevent tampering
- Expires after the configured duration (default: 24 hours)
- Tracks access count and last access time
- Can be regenerated if needed
Configuring Link Expiration
- Go to Trust Center Settings
- Adjust the Magic Link Expiry Hours setting
- Default is 24 hours
Permissions
Two permission levels control Trust Center access:
| Permission | Capabilities |
|---|---|
| Manage Trust Center | Full access: documents, settings, content blocks, certifications |
| Manage Trust Access | Review and approve/reject access requests only |
Dashboard Statistics
The Trust Center Manager displays key metrics:
- Total Documents -- Count with public/protected breakdown
- Active Certifications -- Including custom certifications
- Pending Requests -- Highlighted if requests are waiting
- Content Blocks -- Enabled vs total count
Best Practices
- Organize by certification -- Group documents under relevant certifications for easy navigation
- Set validity periods -- Use expiration dates on documents that need regular updates (SOC 2 reports, penetration tests)
- Review requests promptly -- Pending requests create friction for customers and auditors
- Keep NDA current -- Update your NDA text as legal requirements change
- Use descriptive names -- Help visitors understand what each document contains
- Monitor access -- Track which documents are being accessed and by whom